18 Nov 2025
Matt Gurney BVSc, CertVA, PgCertVBM, DipECVAA, FRCVS provides an introduction to performing this technique, including practical tips for achieving the best outcomes.
Matt Gurney
Job Title
Figure 1. Linear ultrasound probe – blue arrow shows end displayed by marker on screen.
The use of local anaesthetic nerve blocks for providing analgesia is becoming increasingly popular in companion animal medicine.
As with any clinical technique, it is important to understand not only the benefits, but also the risks, and how to improve outcomes.
When it comes to nerve blocks, the use of ultrasound (US) is one way to improve results by increasing accuracy and safety.
As well as reviewing the advantages of using US when performing local anaesthetic blocks, this article also gives practical advice regarding basic settings for image optimisation and how to locate the needle tip.
When performing nerve blocks, US guidance can help mitigate three main risks.
Nerve damage: by keeping the needle tip visible, it can be kept a safe distance from the nerve, reducing the risk of direct trauma to the neurovascular bundle.
Neurotoxicity: local anaesthetic neurotoxicity is likely to be dose related. Being more targeted and accurate with therapy allows reduction of the dose of local anaesthetic required.
Inadvertent IV injection: with direct visualisation, the aim is to avoid penetrating blood vessels and inadvertently injecting cardiotoxic solutions, such as bupivacaine intravenously.
A 2022 review in BJA Education comparing the evidence for US versus electrical nerve location in human medicine showed a higher success rate with the use of US when it comes to short-term outcomes. This included a longer duration of block, less risk of intravascular puncture, as well as less risk of local anaesthetic toxicity.
Interestingly, though, in the longer-term follow up, no difference in neurological complications (such as neuropraxia) was found between the two techniques.
To perform US-guided techniques, some specialised equipment is required:
Probe ergonomics are also important. To prevent the dreaded “US hand cramp”, it is important that the probe can be held in a comfortable fashion. The position of the marker is important, too.
In Figure 1, the marker shown by the blue arrow/line correlates with the marker on the screen. This is the side of the probe where the US wave frequency begins from and, therefore, the side of the probe that is refreshed the soonest.
A high-frequency probe offers greater attenuation at a given depth compared to a low-frequency probe, so gives a greater level of detail.
To optimise the image that is seen on the screen, the depth, gain and focus are adjustable on many machines, although some machines may automate this to a greater or lesser degree.
Increasing depth reduces temporal resolution because it takes longer for the sound waves to reflect back to the probe itself.
The machine will compensate for increasing depth by reducing the width of sector beam, so that the US is not spread over such a wide area (Figure 2).
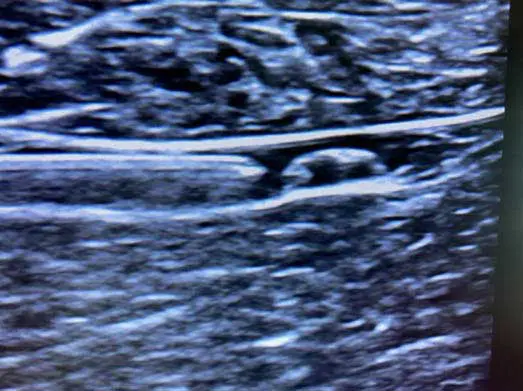
Gain is the graininess from black to grey associated with the image and the image quality. Blood vessels should appear dark black on the screen. Optimal gain produces good contrast between the structures of interest and the vessels or other structures surrounding them (Figure 3).
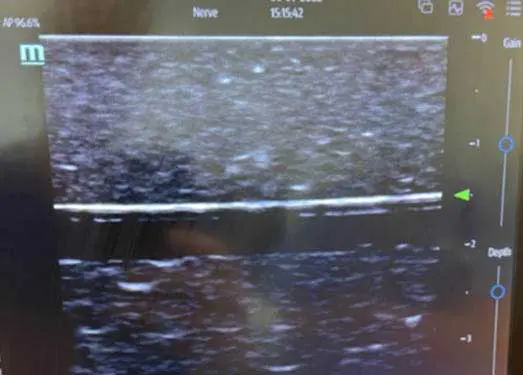
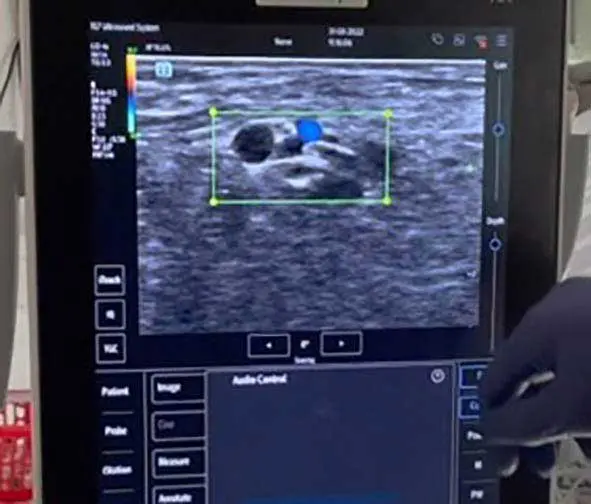
Focus addresses the concept of lateral resolution. This is the ability of the machine to distinguish between two adjacent objects as being distinct from each other, and so is understandably incredibly important when looking for nerves that are associated with other vessels and structures. At the ideal focal point, the US waves converge and give the greatest focus and gain (Figure 4). A number of machines may do this automatically, but many provide a manual ability to change the focal depth.
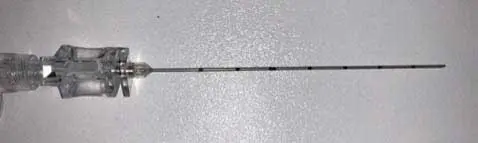
A number of features make for the ideal needle for US-guided use.
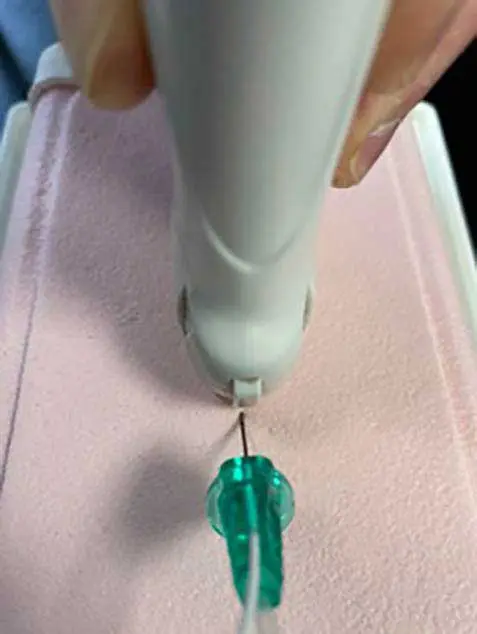
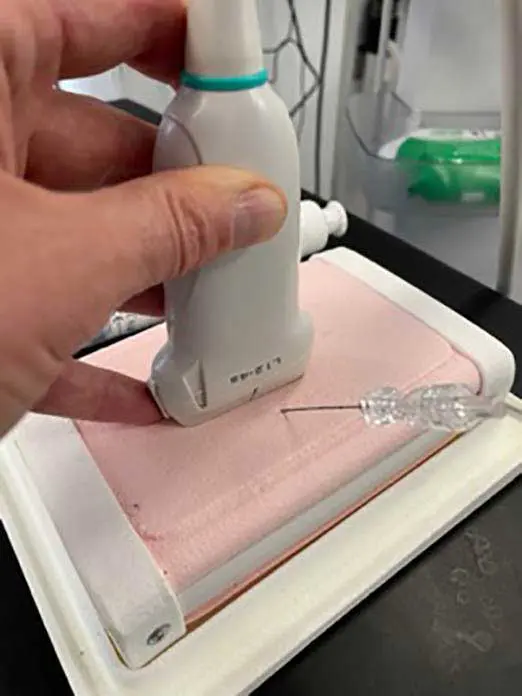
Two methods of needle-probe orientation exist: the in-plane technique (Figure 6) and the out-of-plane technique (Figure 7). The majority of local anaesthetic techniques are performed in-plane as most find it easier to see the length of the needle rather than a cross section.
One useful phenomenon that helps visualise the tip (and length) of the needle is “stepping”: a reverberation artefact (Figure 8).
The concept of circumferential local anaesthetic spread is demonstrated in Figure 9. Opinions differ over whether 100% circumferential spread is needed for an effective block, with some reporting that 50% is adequate.
The aim should always be to deposit local anaesthetic solution in contact with the nerve.
US has great potential to improve the accuracy of local anaesthetic deposition and, therefore, improve nerve block success. It also improves safety by helping to avoid damage to structures encountered during needle passage.
Considering the basic machine settings for image optimisation and ensuring consistent visualisation of the needle tip are key to achieving the best outcomes.
This all becomes much easier with experience, but can feel a bit intimidating at first, which is why Zero Pain Philosophy has produced instructional videos for a variety of nerve blocks.
These can be viewed for free at www.zeropainphilosophy.com